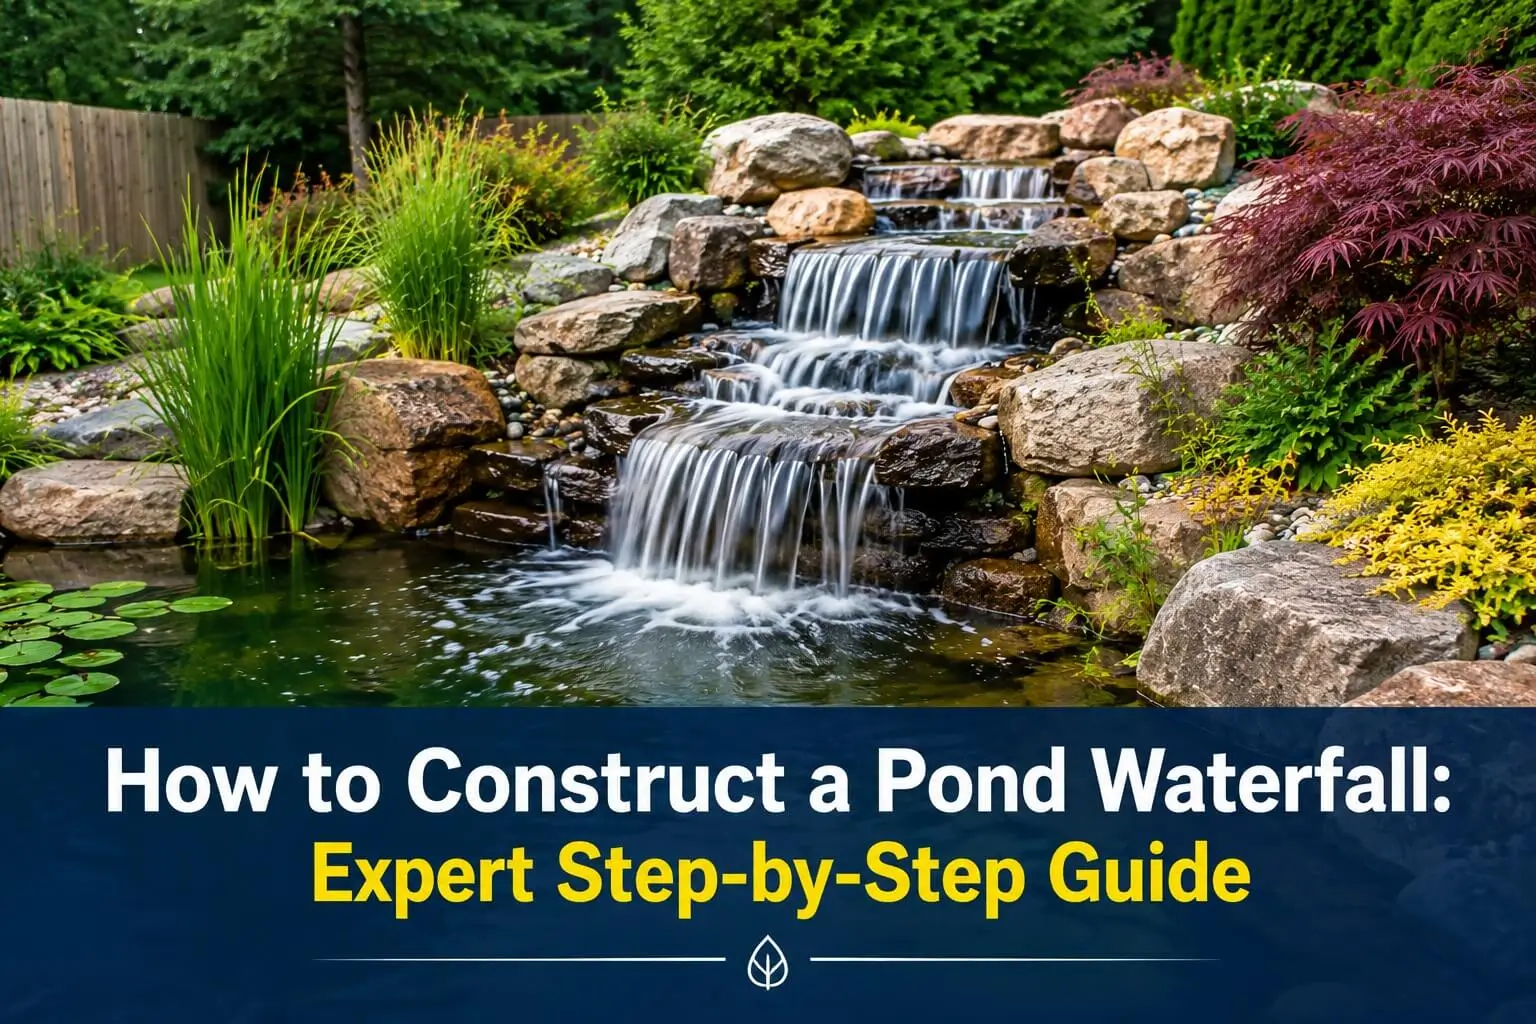
A backyard pond waterfall can completely change the feel of an outdoor space. The sound of flowing water creates a calm atmosphere, attracts birds, and turns an ordinary garden into a relaxing retreat. A well-built waterfall also helps improve water circulation and oxygen levels inside the pond, which supports healthier aquatic life.
Many homeowners think building one requires a contractor or years of landscaping experience. That is not always true. With proper planning, the right materials, and a practical approach, a beautiful pond waterfall can be built as a DIY project.
This expert guide explains how to construct a pond waterfall using a straightforward process that focuses on function, appearance, and long-term durability.
Why Add a Waterfall to Your Pond?
A pond without moving water can sometimes look flat and lifeless. Adding a waterfall brings movement and energy while offering practical benefits too.
Key advantages include:
- Improves water circulation
- Increases oxygen levels for fish and plants
- Helps reduce stagnant water issues
- Creates a natural sound barrier
- Enhances landscape value
- Makes the pond visually appealing
Homeowners across the United States often consider waterfalls one of the most desirable pond upgrades because they create a more natural outdoor setting.
How to Construct a Pond Waterfall: Planning Before You Dig
Understanding how to construct a pond waterfall begins with planning. Skipping this stage often leads to leaks, poor water flow, or expensive corrections later.
A few important questions should be answered before work starts:
- How large is the pond?
- How tall should the waterfall be?
- Will fish live inside the pond?
- What style fits the landscape?
- How powerful should water movement be?
Waterfalls that appear natural usually have curves, layered stones, and uneven drops. Nature rarely creates perfect straight lines, so slight irregularities produce a more authentic appearance.
Select the Right Location
Location matters more than many people expect.
A suitable area should:
- Sit slightly higher than the pond
- Avoid large tree roots
- Stay away from underground utilities
- Receive balanced sunlight
- Allow easy access for maintenance
Natural slopes reduce excavation work and often make construction easier.
Gather Materials and Equipment
Building a waterfall requires a few essential components.
Common materials include:
- Pond liner
- Underlayment fabric
- Water pump
- Flexible tubing
- Waterfall spillway box
- Large rocks and decorative stones
- Gravel
- Shovel
- Level
- Utility knife
- Expanding waterfall foam
Material quality plays a major role in long-term performance. Cutting corners with pumps or liners frequently creates problems later.
Step 1: Mark the Waterfall Layout
Grab a garden hose or landscape paint and outline the path.
Visualize how water will travel:
Top of waterfall → stream area → lower waterfall section → pond
Gentle curves often look better than straight channels.
Several homeowners become excited and immediately start digging. Spending extra time shaping the design usually pays off later.
Step 2: Dig the Stream and Waterfall Area
Begin excavating according to the planned design.
Dig different levels where water can cascade naturally over rocks.
Small elevation changes create better movement and sound.
Typical waterfall heights range between:
- 1–2 feet for subtle flow
- 2–4 feet for moderate waterfalls
- 5+ feet for dramatic features
Depth does not need to be excessive. Stream sections usually stay relatively shallow.
Anyone learning how to construct a pond waterfall quickly discovers that shaping affects appearance more than depth alone.
Step 3: Install Underlayment and Pond Liner
Sharp rocks and roots can puncture liners over time.
Place protective underlayment first.
Spread it evenly across:
- Waterfall channel
- Stream sections
- Pond edges
Next, carefully install the pond liner.
Leave extra material around edges because adjustments often become necessary during construction.
Avoid stretching liners tightly.
Natural movement and settling require flexibility.
Step 4: Install the Water Pump and Tubing
Water movement depends on choosing the proper pump.
Pump size generally depends on waterfall width.
Basic recommendation:
Approximately 100 gallons per hour for every inch of waterfall width.
Example:
A 20-inch waterfall often requires around 2,000 gallons per hour.
Place the pump inside the pond and run tubing behind rocks toward the waterfall spillway.
People researching how to construct a pond waterfall sometimes underestimate pump strength. Weak pumps often create disappointing results.
Step 5: Position the Spillway Box
The spillway acts as the waterfall source.
Place it securely at the highest point.
Check carefully using a level.
An uneven spillway sends water toward one side and can create leaks.
Hide exposed sections with surrounding stones and landscaping material.
Small details create a cleaner finished appearance.
Step 6: Arrange Large Rocks First
Stone placement separates average waterfalls from realistic ones.
Begin with large foundation rocks.
Position them securely:
- Along sides
- Beneath waterfall drops
- Around edges
Large rocks establish structure.
Smaller stones and gravel can be added later.
Natural waterfalls usually feature varied stone sizes rather than identical pieces.
Step 7: Use Waterfall Foam Between Gaps
Water naturally follows the path of least resistance.
Without foam, water often disappears behind rocks instead of flowing over them.
Expanding waterfall foam helps guide movement correctly.
Apply foam behind visible rocks.
Let it cure according to manufacturer instructions.
This simple step dramatically improves water direction.
Many experts teaching how to construct a pond waterfall consider this one of the most overlooked details.
Step 8: Test Water Flow
Turn on the pump and watch carefully.
Inspect areas where:
- Water escapes liner edges
- Splashing becomes excessive
- Flow looks uneven
- Rocks shift
Adjust stone placement as needed.
Expect minor corrections.
Almost every project requires tweaking before achieving a natural appearance.
Patience helps during this stage.
Add Finishing Landscape Touches
Construction may technically be complete, but finishing details create a polished look.
Popular additions include:
- River pebbles
- Water plants
- Decorative grasses
- Garden lighting
- Driftwood accents
- Aquatic flowers
Plants soften stone edges and blend the waterfall into surrounding landscapes.
A finished design should look like it naturally belongs there.
Maintenance Tips for Long-Term Performance
A pond waterfall stays attractive when maintenance remains consistent.
Helpful maintenance habits include:
- Remove leaves regularly
- Inspect pump performance
- Check water levels
- Clean debris from filters
- Inspect tubing annually
Simple upkeep prevents expensive repairs later.
People searching how to construct a pond waterfall often focus entirely on installation and forget long-term care.
Common Mistakes Homeowners Make
Several issues repeatedly appear during DIY waterfall projects.
Common errors include:
- Buying an undersized pump
- Using thin liners
- Creating perfectly straight channels
- Ignoring water splash zones
- Poor rock placement
- Skipping foam application
Avoiding these mistakes saves time and money.
Final Thoughts
Learning how to construct a pond waterfall does not require advanced construction experience. Careful planning, proper materials, and attention to small details make a major difference.
A successful waterfall project combines visual appeal with functionality. Water should move naturally, rocks should appear realistic, and maintenance should remain manageable.
Homeowners willing to spend time on design and installation often end up with a landscape feature that becomes the highlight of the entire backyard. A thoughtfully built pond waterfall brings movement, sound, and character that transforms an outdoor space into something people genuinely enjoy for years.